Manual
This chapter handles an in depth, detailed guide on the creation, initiation and management of runs and their jobs. Pladipus can run in two modes, and so the manual is split into two major sections :
Run Management
Execution
Run Management
Startup
The login screen will query you for your Pladipus user and password (can be generated upon installing the software)

Run Overview
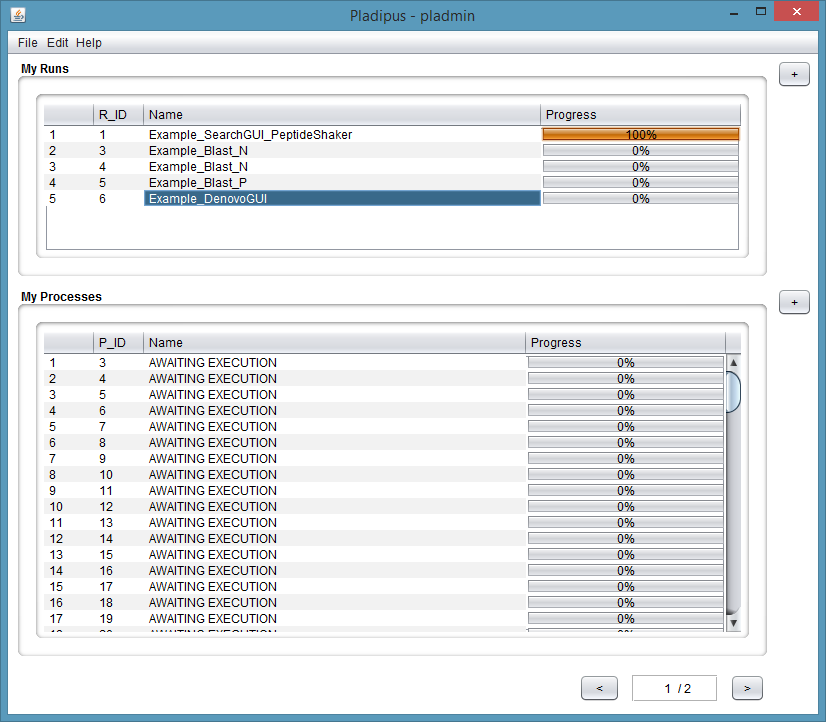
Users can oversee the proceedings of runs and their jobs. A status update is posted by the executing workers to the controller and these can be viewed through the user interface.
By right clicking the selected runs, the user is provided with an option to either start a run, cancel a run (withdraw it from Pladipus) or delete the run.
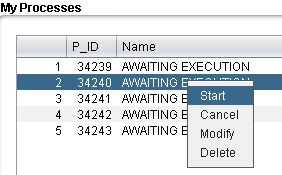
Similarly, when selected jobs are right clicked, the user can start/cancel and even modify those individual jobs.
Creating A Run
The user can create a run template by starting the Run Creation dialog. This window can be reached through the File menu or the + button next to the Run-window. A preview of the XML file is then displayed to the right.
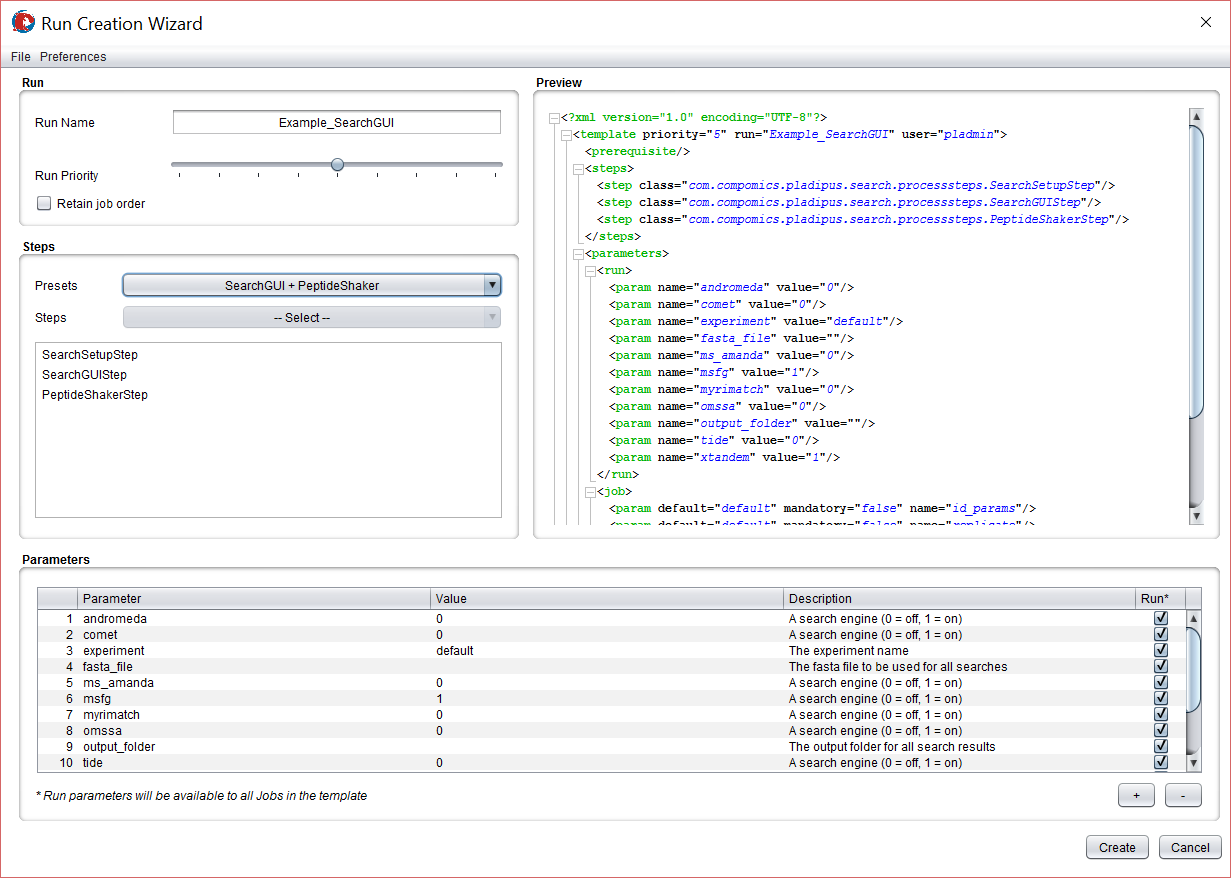
There are several options:
-
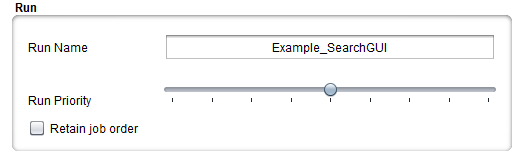
The priority of a run can be set using the slider. This is especially useful to create background tasks.
-
It is possible to force jobs to be executed in order
- Several presets are included in the Pladipus build, making it easy to cobble together powerful processing pipelines.

- The default process step parameters are automatically loaded. More can be added, a useful feature for custom processes.
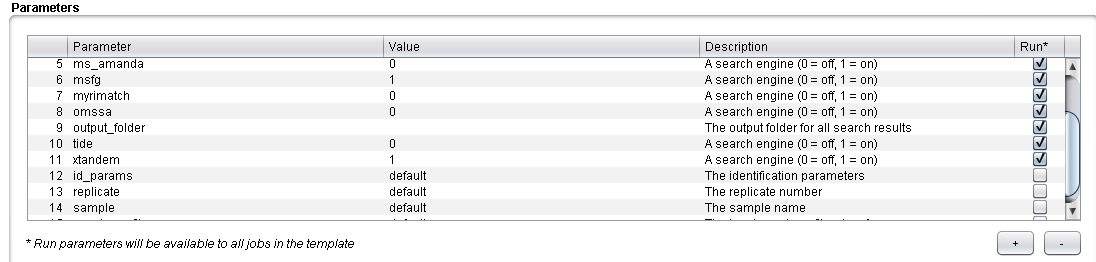
- The checkbox in the Run column indicates whether the variable should be used across the entire run. For example: a FASTA file could be used for every job in the run, so it should be set as a fixed parameter, whereas the input file can be different for every search, turning it into a variable parameter
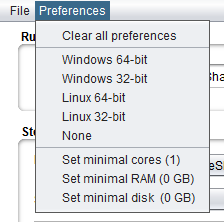
- Machine preferences can be set for this run by clicking the “Preferences” tab at the top of the window. By selecting these prerequisites, the worker will first scan if it is capable of running the given job. If it is incapable, the job gets rolled back to the queue, not increasing the failcount. These preferences include the operating system, architecture (32 or 64 bit), the amount of usable memory (RAM), the amount of processing cores for multi-threading and the amount of available disk space.
Example: a search is requested using Andromeda, which is not available for Linux systems. Should a non-windows worker receive this job, it will detect that it is not able to fully run the job, passing it back to the controller
Creating a run from Command Line
-
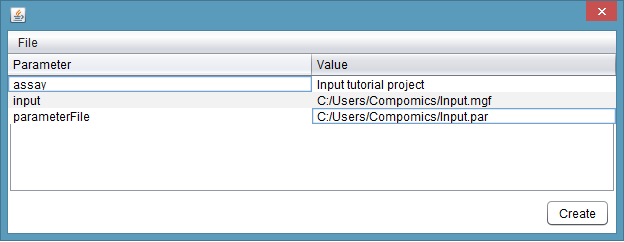
After clicking “create” an XML file is generated for future use, along with an empty configuration file. The latter is a TSV file Every column represents a parameter, where each row will form a job. An example is available here. It is of the greatest importance that the TSV file is correctly populated.
-
A run can be imported as an existing template XML file, as long as these are complying to the standard schema. This schema is further specified in the Advanced Operations.
Adding Jobs To A Run
- Jobs can be added to processes through the processes section of the main GUI after selecting a run. This is not recommended to create larger runs, as the jobs are created one by one this way.
-
It is however possible to batch insert jobs by importing a configuration file. Select a run in the main window and then navigate to File>Open job(s). Alternatively, you can press the “+” button to the right of the process window or right click a selected run and select “Attach jobs”.
-
Another option is to load a template XML file and a configuration file simultanously in order to instantly set up a run and jobs. This can be done by clicking File > Import Run in the main GUI screen
Launching a run
There are two general ways to start jobs on the Pladipus network.
- By making a selection of processes , right click the menu and select “Start”. The selected jobs will be pushed to the network. :
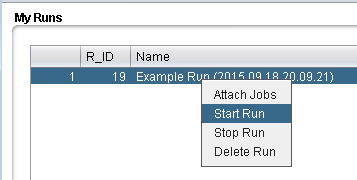
- By selecting a run, right click the menu and select “Start”. All jobs that belong to the selected run will be pushed to the network. :
Other
Other operations are done in a similar fashion :
Run
- Attach Jobs : Allows the user to populate a run
- Start Run : Starts the selected run
- Stop Run : Stops the selected run.
- Delete Run : Deletes the selected run and the processes linked to it.
Processes
- Start : Starts the selected processes
- Cancel : Cancels the selected processes
- Modify : Opens a dialog to edit the parameters. Run parameters can not be changed !
- Delete : Deletes the selected processes.
Important : Note that processes that are still running on the network will not be cancelled !
Execution mode
The execution mode is command line only and has several switches. The jar is located at
$USER_HOME/pladipus/Pladipus-execution-X.Y.Z/Pladipus-execution-X.Y.Z.jar
Executing jobs
To pull a single task: java -jar Pladipus-execution-X.Y.Z.jar -pull
To pull tasks continuously: java -jar Pladipus-execution-X.Y.Z.jar -auto_pull
Posting jobs
Jobs can be posted to pladipus using the following command :
java -jar Pladipus-execution-X.Y.Z.jar -push -template [template.xml] -job_config [config.tsv] -u [username] -p [password]